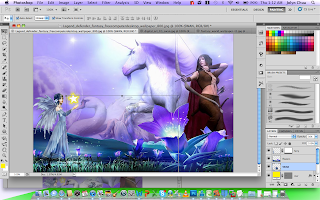
first of all........ i found this picture online....and i found it quite suitable...so i downloaded it and start editing it..... this is the
original picture....
then.....i set this as my background then i choose
adjustment then
curves to adjust the tone .....
this is the adding grass part 1.... i took the patch of grass from another picture..i bring it over here....i
paste it where the place i wanted then i use
masking to make it nice...
this is the grass part two.....another patch of grass is been brought over to make it feel there's a bit of GREEN..... same thing happen here.....i bring the patch of grass over here then i use
masking again to make the picture blends together well :)
here's the star.....i added some stars into the blue sky .... i choose the
shape tool....
customize it ...then a star is done...i did
adjust the opacity too..so that it'll look nice together with the picture...
here's another star..
.same concept used :)
and another star.....but the
size and opacity is
different...the
location is
different too....
and..................another star........
and another star.......but this star.....i used
masking to make it blend together with the moon....
and one last small star at the left top corner....
same concept for all the stars.....
and.........here's the rainbow....i moved it into my image...... i
enlarged it and
changed the opacity so that it could blend well with the background and the picture........and.....im done... :D
and done!! this is the final picture for the first calendar :D ♥


