Second Calender! Let's GO!
The Idea: Sky just like in Heaven
As usual, New Workspace is create with A4 Size landscape with 300 Resolution
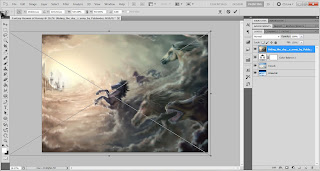
No doubt, place the image wanted to use, remember to resize that you want!
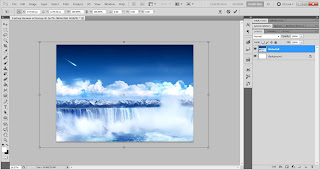 |
| Image is placed and delete the Background Layer which is useless |
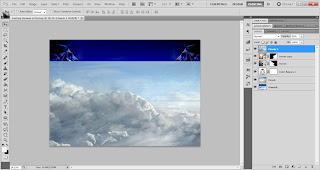
Another image is placed again
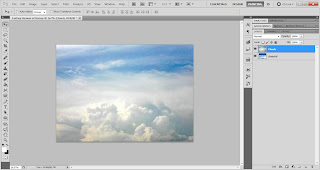 |
| Clouds Image is placed in Workspace |
Change the Blending Mode of the Clouds layer to Color Burn
 |
| Blending mode to Color Burn |
Add Color Balance in Adjustment and set as below:
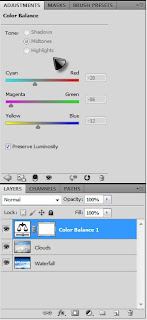 |
| Setting of Color Burn |
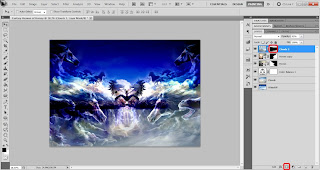
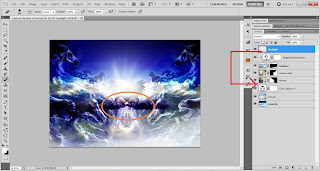
The Workspace of image will looked as below after adding Color balance on it
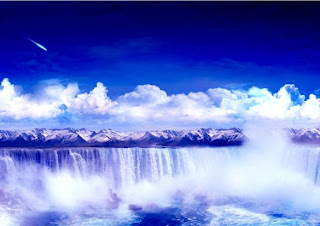 |
| Image of Workspace! COOL~! |
Heaven? No Angel? NO!!! I place some Horse Image to the Workspace as my Angel
 |
| Place the Horse Image |
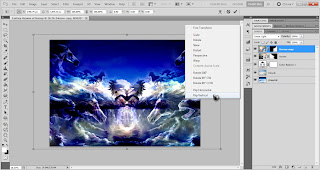
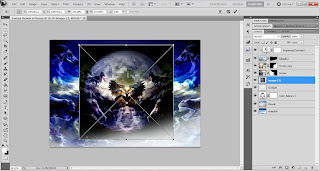
Make it different! I Flip Horizontal in Free Transform (Ctrl+T)
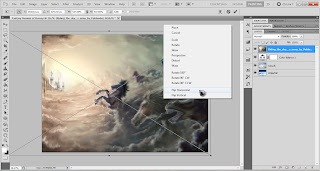 |
| Free Transform + Flip Horizontal |
Now, delete the unwanted part with using Brush Tool in Layer Mask on the Layer of Horse
Why not Eraser Tool? This is because we can reappear back the image you if you go mistake to delete.
 |
| Delete the unwanted part with Brush Tool in Layer Mask |
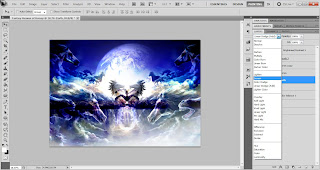
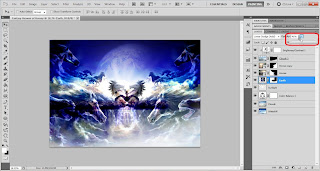
Change the Blinding Mode of Horse to Linear Light, so It will looked as Below
 |
| Linear Light is applied in Blending Mode of Horsey |
Too empty! All Right! No problem, I make it Reflection to the Horsey!
Duplicate the Layer of Horse and Free Transform to apply the Flip Horizontal with right Click to show the Table
 |
| Free Transform + Flip Horizontal |
Place a clouds image again to the Workspace
 |
| Clouds Image is Placed |
Delete the unwanted part with Brush Tool in Layer Mask of the Layer
 |
| Delete unwanted part with Brush in Layer Mask |
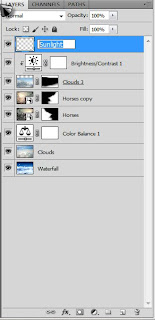
Now, add the Brightness/Contrast clip for the Clouds 3
How to clip? Click the icon that highlighted below:
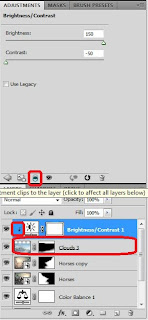 |
| Clip the Brightness and Contrast to the Cloud 3 |
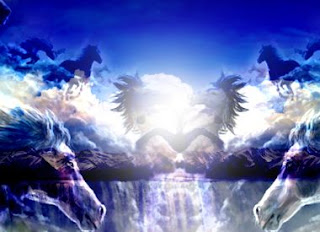
Now, the Image in Workspace looked:
 |
| Wow! How impressed was that! |
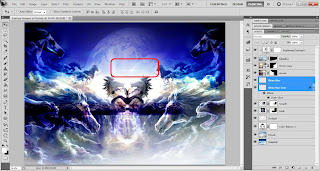
Now, I am going to create Sunlight with my own!
Take a look! Create a New Layer named Sunlight
 |
| Sunlight Layer is Created |
Now select the Brush tool with big size of soft round brush and hit on the screen!
 |
| The soft round brush is applied in the center of image |
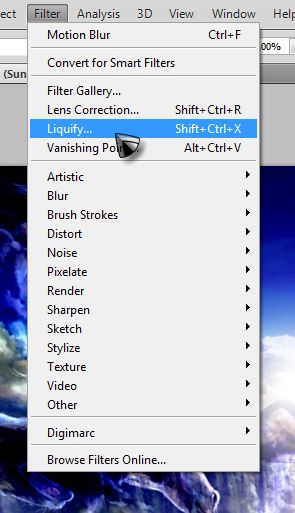
Just a round? No, I will make some line of lightning, using Filter > Liquify (Ctrl+Shift+X)
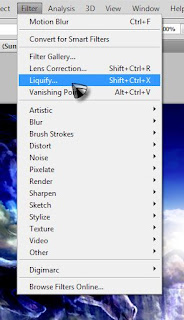 |
| Filter>Liquify |
Using Forward Wrap Tool and Set the Tool option as Below and start to pull the brush from the point to Liquify
 |
| Forward Wrap Tool to Liquify the White Big Dot |
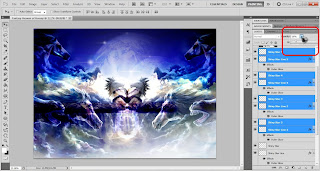
Now you can see the Sunlight and the lining on the Image, but some changed position of layer is applied because the sunlight may too bright for the Horse if the layer is on top of Horse
 |
| Changing Position of Layer |
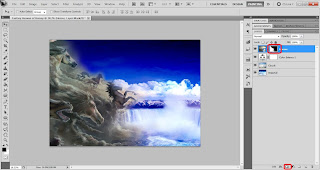
Seem like Sky is nothing, so i place another image of Earth, wow, looked Cool!
 |
| Place an image of Earth |
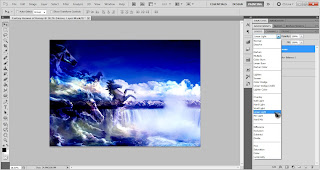
In the Blending Mode, Choose Line Dodge (Add) to show to effect!:
 |
| Line Dodge (Add) is selected in Blending Mode |
Change to Low Opacity with 41%
 |
| Select Low Opacity = 41% |
Duplicate another layer of Earth to show the small size of Earth in the sky (SEarth)
 |
| Small Earth is duplicated from Earth Layer |
Adding some Bling Bling Shiny Star? No problem
How to make it? You can take a look from My previous tutorials of Calender 1:
Ban's Calendar 1 [Silhouette Meteor Shower] Tutorial
 |
| Bling Bling Shiny Star and Line Shiny Star is added into the Workspace |
Duplicate them to fill up the Sky with bling Bling Star with different Opacity
 |
| More Bling Shiny Star is duplicated in sky |
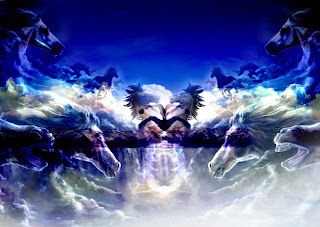
Don't forget, As a calender, sure need a dare of Calender, add the date into the Workspace
SO, THIS IS THE FINAL PRODUCT OF MINE!


No comments:
Post a Comment