Hi, I am gary , the member of this group. Now I am going to show you about the process of completing my calender. For your information, I am using Adobe Photoshop CS4 to produce my work. Let's start!

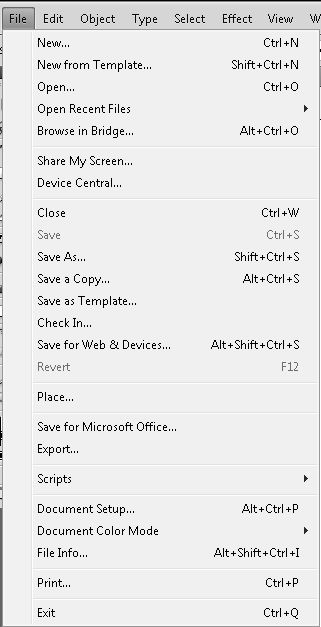
First, go to File > New (ctrl+N)

Rename the file as CG calender
A4 size paper, width 297 height 210 ( landscape)
Resolution 300
Color mode CMYK color - for printing

Go to File> Place

Go to the folder that you keep the image and choose the image that you want.
Click Place

Right click on the layer and go to layer properties
Rename it as Water background

Press Ctrl +T transform the image to fix the A4 size paper.

Go to adjustment > brightness/ contrast
Adjust contrast to 84

Press on both layer by hold down the ctrl
Right click and merge layers

Select the Clone Stamp Tool (S)

Right click on your mouse to adjust the master diameter and hardness.

I clone the signature of the image because it disturb the image
Press Alt and click on the part that you want it to be clone.

Again ,go to File > Place

Select another image that you want.

Rename the layer as city

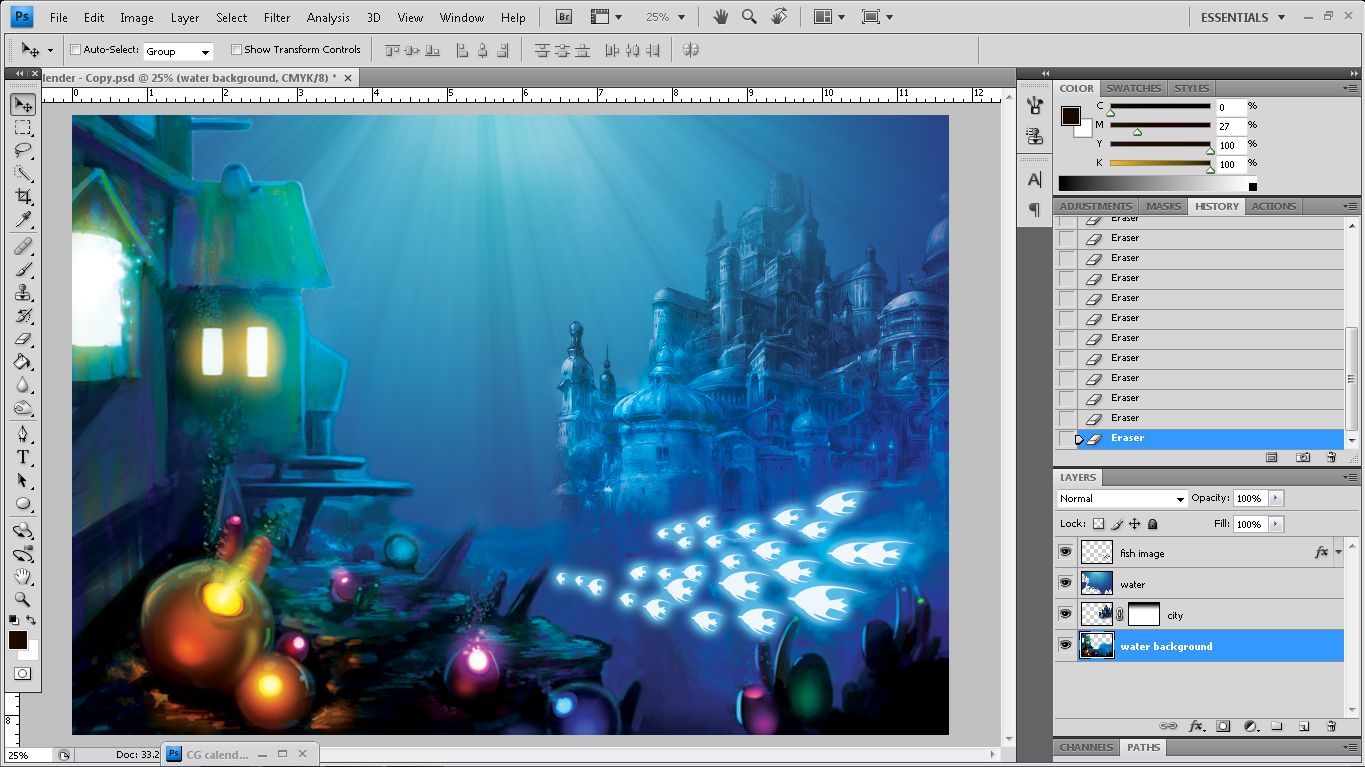
Select the eraser tool (E) to delete the part that you dont want and left the part of city

Hide the Water background by off the eye to avoid disturbing when you do editing

Go to adjustment > brightness / contrast
Adjust the brightness and contrast of city layer ( make sure you are in the city layer)

Right click and select merge layers.


Open back the eye of the water background layer
Ctrl +T to transform and adjust the city to the size that you want

Create a mask on the city layer

Select the Gradient Tool ( G)

Drag it on the top of the image ( hold shift when dragging)

Select eraser tool (E)

Eraser the right part of water background layer

Close the eye of both layer and create a new layer

Rename the new layer as Water

Select the gradient tool ( G)

Click on the gradient to adjust it

Change the color of the gradient

Select blue color (032b87)
another color is light blue (64c3ff)

Select the radial gradient

Drag it from the top of the paper ( hold shift)

You will get the gradient as the image above

Create another new layer

Select the brush tool ( B)

Right click to adjust the master diameter and hardness of brush

Select white color and click on the top on the gradient

Ctrl +T transform the shape to become oval
Put it to the center

Now , I want to create the sunlight. Go to File> New

Rename the file as gradient

Go to image> image rotation> 90CW to get the landscape paper

Name the layer as gradient

Right click on the layer and select blending options

Go to Gradient Overlay> style> angle

Select the spectrum and gradient type as noise

Right click on the layer and select flatten image

Select crop tool (C)

Crop on then middle bottom part of the gradient

Press shift +ctrl + U to desaturate the image

Select move tool (V)

Move it to another file

Ctrl + T transform it to the A4 size

Go to blending mode> overlay

Here, you can see the light come from the top

I use Adobe Illustrator CS4 to create a fish image.
Open a new file name as fish
Go to File > place

Select the image that you want and click place

Select pen tool (P)

Follow the outline of the fish and trace it out

Select the line color as black


Save at desktop

Go back to photoshop
File> place

Select the fish ai file

Click OK to put in the fish image


Right click and select rasterize layer

Hold ctrl and click on the layer thumbnail to select the image

Go to Edit > Define Brush Preset

Name it as fish

Right click and select delete layer

Create a new layer and name it fish image

Select brush tool (B)

Right on the paper
Select the fish brush that you had create

Go to toggle the brushes panel

Adjust the spacing to 158%

Select the shape dynamics and adjust the size jilter

Open all the eye of the image
Drag the brush on the paper to create the fish group

Ctrl +T and right click
Select perspective

Adjust the position of the fish like swim into the city

Right click on the layer and select blending options

Select the color overlay- white color

Select outer glow
adjust the spread and size

The fish group become lighten

Right click on the background layer and select delete layer

Merge all the water as one layer
Name the layer as water

Go to blending mode and select soft light

Select the eraser tool(E)


Select the water background and erase the background

This is the image after clean the background

Select smudge tool

Smudge the part at the bottom size to combine it with other image

Blur the part that had been smudge to make it more smooth

Select the city layer and right click on the layer
Select the duplicate layer
Name it as city (back )

Ctrl +T and right click
Select flip horizontal


Create a new layer name as flower


Select the Faux finish brushes- brushes that I download from Qbrush.com

Select the Veining Feather 2

Click on the paper to get the image

Create 5 pieces of the feather

Arrange them as a flower shape

Select all the flower layer ( hold ctrl ) and right click
Select merge layer

Right click on the layer and select blending options

Select the outer glow and change the contour to sawtooth 1

Go to Layer> Group Layers (Ctrl + G )

Create a group of flower by repeat the step above

Name the group as flower right

Create another group name as flower left

Two group of flower fly to the top

Create a new layer and name it as smoke

Select the 21 smoke brush - download from Qbrush.com

Select the sampled brush 45

Click on the paper and right click
select perspective

Group all the background layer together
Select those layer

Go to Layer> Group layers (ctrl + G)

Name it as background

Create a new layer name as bubbles

Reset the brushes

Go to toggle the brushes panel
adjust the diameter and hardness

Select shape dynamics
adjust the size jilter and minimum diameter

Click on the part that you want
Go to blending mode > screen

Right click on the layer and select blending options

Select inner shadow
Adjust the distance

Adjust the fill of the bubbles

This is my final calendar wallpaper
No comments:
Post a Comment